Introduction

How to use
DC motors
Steppers
For unipolar motors: to connect up the stepper, first figure out which pins connected to which coil, and which pins are the center taps. If its a 5-wire motor then there will be 1 that is the center tap for both coils. Theres plenty of tutorials online on how to reverse engineer the coils pinout. The center taps should both be connected together to the GND terminal on the motor shield output block. then coil 1 should connect to one motor port (say M1 or M3) and coil 2 should connect to the other motor port (M2 or M4).
For bipolar motors: its just like unipolar motors except theres no 5th wire to connect to ground. The code is exactly the same.
Running a stepper is a little more intricate than running a DC motor but its still very easy

Arduino is a great starting point for electronics, and with a motor shield it can also be a nice tidy platform for robotics and mechatronics. Here is a design for a full-featured motor shield that will be able to power many simple to medium-complexity projects.
- 2 connections for 5V 'hobby' servos connected to the Arduino's high-resolution dedicated timer - no jitter!
- Up to 4 bi-directional DC motors with individual 8-bit speed selection (so, about 0.5% resolution)
- Up to 2 stepper motors (unipolar or bipolar) with single coil, double coil, interleaved or micro-stepping.
- 4 H-Bridges: L293D chipset provides 0.6A per bridge (1.2A peak) with thermal shutdown protection, 4.5V to 36V
- Pull down resistors keep motors disabled during power-up
- Big terminal block connectors to easily hook up wires (10-22AWG) and power
- Arduino reset button brought up top
- 2-pin terminal block to connect external power, for seperate logic/motor supplies
- Tested compatible with Mega, Diecimila, & Duemilanove
How to use
DC motors
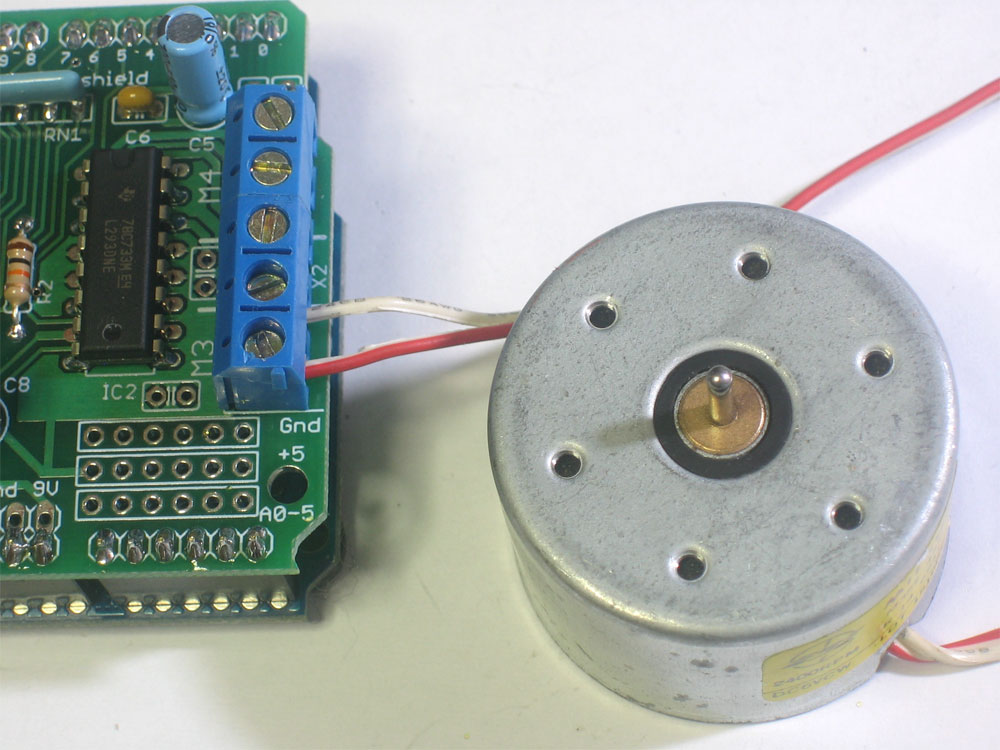
DC motors are used for all sort of robotic projects. The motor shield can drive up to 4 DC motors bi-directionally. That means they can be driven forwards and backwards. The speed can also be varied at 0.5% increments using the high-quality built in PWM. This means the speed is very smooth and won't vary!
Note that the H-bridge chip is not really meant for driving loads over 0.6A or that peak over 1.2A so this is for small motors. Check the datasheet for information about the motor to verify its OK.
To connect a motor, simply solder two wires to the terminals and then connect them to either the M1, M2, M3, or M4. Then follow these steps in your sketch
- Make sure you include
- Create the AF_DCMotor object with AF_DCMotor(motor#, frequency), to setup the motor H-bridge and latches. The constructor takes two arguments.
The first is which port the motor is connected to, 1, 2, 3 or 4.
frequency is how fast the speed controlling signal is.
For motors 1 and 2 you can choose MOTOR12_64KHZ, MOTOR12_8KHZ, MOTOR12_2KHZ, or MOTOR12_1KHZ. A high speed like 64KHz wont be audible but a low speed like 1KHz will use less power. Motors 3 & 4 are only possible to run at 1KHz and will ignore any setting given - Then you can set the speed of the motor using setSpeed(speed) where the speed ranges from 0 (stopped) to 255 (full speed). You can set the speed whenever you want.
- To run the motor, call run(direction) where direction is FORWARD, BACKWARD or RELEASE. Of course, the Arduino doesn't actually know if the motor is 'forward' or 'backward', so if you want to change which way it thinks is forward, simply swap the two wires from the motor to the shield.
Code
#include


AF_DCMotor motor(2, MOTOR12_64KHZ); // create motor #2, 64KHz pwm

void setup() {
  Serial.begin(9600);           // set up Serial library at 9600 bps
  Serial.println("Motor test!");

  motor.setSpeed(200);     // set the speed to 200/255
}

void loop() {
  Serial.print("tick");

  motor.run(FORWARD);      // turn it on going forward
  delay(1000);

  Serial.print("tock");
  motor.run(BACKWARD);     // the other way
  delay(1000);

  Serial.print("tack");
  motor.run(RELEASE);      // stopped
  delay(1000);
}
Steppers
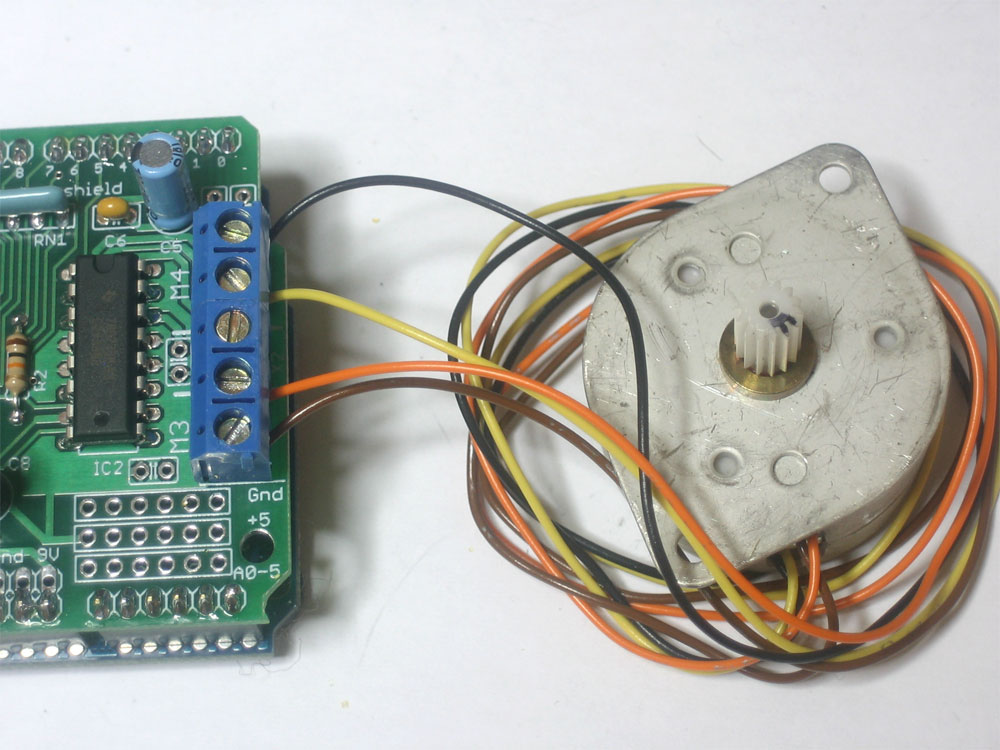
bi-polar 4 wire stepper
Stepper motors are great for (semi-)precise control, perfect for many robot and CNC projects. This motor shield supports up to 2 stepper motors. The library works identically for bi-polar and uni-polar motors
For unipolar motors: to connect up the stepper, first figure out which pins connected to which coil, and which pins are the center taps. If its a 5-wire motor then there will be 1 that is the center tap for both coils. Theres plenty of tutorials online on how to reverse engineer the coils pinout. The center taps should both be connected together to the GND terminal on the motor shield output block. then coil 1 should connect to one motor port (say M1 or M3) and coil 2 should connect to the other motor port (M2 or M4).
For bipolar motors: its just like unipolar motors except theres no 5th wire to connect to ground. The code is exactly the same.
Running a stepper is a little more intricate than running a DC motor but its still very easy
- Make sure you include
- Create the stepper motor object with AF_Stepper(steps, stepper#) to setup the motor H-bridge and latches. Steps indicates how many steps per revolution the motor has. a 7.5degree/step motor has 360/7.5 = 48 steps. Stepper# is which port it is connected to. If you're using M1 and M2, its port 1. If you're using M3 and M4 its port 2
- Set the speed of the motor using setSpeed(rpm) where rpm is how many revolutions per minute you want the stepper to turn.
- Then every time you want the motor to move, call the step(#steps, direction, steptype) procedure. #steps is how many steps you'd like it to take. direction is either FORWARD or BACKWARD and the step type is SINGLE, DOUBLE. INTERLEAVE or MICROSTEP.
"Single" means single-coil activation, "double" means 2 coils are activated at once (for higher torque) and "interleave" means that it alternates between single and double to get twice the resolution (but of course its half the speed). "Microstepping" is a method where the coils are PWM'd to create smooth motion between steps. - You can use whichever stepping method you want, changing it "on the fly" to as you may want minimum power, more torque, or more precision.
- By default, the motor will 'hold' the position after its done stepping. If you want to release all the coils, so that it can spin freely, call release()
- The stepping commands are 'blocking' and will return once the steps have finished. If someone wants to be awesome and write a version of the library that does background stepping that would be cool! :)
Code
#include


AF_Stepper motor(48, 2);


void setup() {
  Serial.begin(9600);           // set up Serial library at 9600 bps
  Serial.println("Stepper test!");

  motor.setSpeed(10);  // 10 rpm

  motor.step(100, FORWARD, SINGLE);
  motor.release();
  delay(1000);
}

void loop() {
  motor.step(100, FORWARD, SINGLE);
  motor.step(100, BACKWARD, SINGLE);

  motor.step(100, FORWARD, DOUBLE);
  motor.step(100, BACKWARD, DOUBLE);

  motor.step(100, FORWARD, INTERLEAVE);
  motor.step(100, BACKWARD, INTERLEAVE);

  motor.step(100, FORWARD, MICROSTEP);
  motor.step(100, BACKWARD, MICROSTEP);
}
If you want two stepper motors to step at once you'll need to write something like this:
void doublestep (int steps, int direction, int style) {
  while (steps--) {
    motor1.step(1, direction, style);
    motor2.step(1, direction, style);
  }
}


Tags:
Arduino projects


Leave a comment